Signing a document digitally and then putting a stamp on it is a necessary task, but why?
To be able to complete a study application to an education provider —be it a school, institute or university— it is necessary to certify the documents (photocopies or duplicates).
The simplest and most valid process for educational institutions in Australia and New Zealand is as follows:
International students must verify the origin of their documents through a digital signature that they can generate themselves and the education experts can validate the information of said document when stamping them.
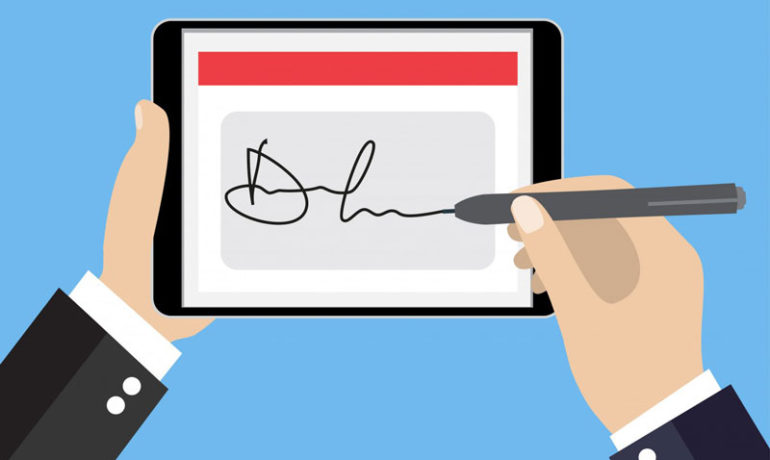
How do I sign a document?
The first step is to digitise it and you can do it using a scanner if you have a desktop or laptop or using a mobile application such as Genius Scan or Adobe Scan, among others.
Once you have your PDF document, you must open it on your computer and click on Sign in the right panel or clicking on tools and looking for the sign icon.

A horizontal bar will be displayed at the top where you will find the sign icon. Click on it and then click on the first option to add a signature next to the addition sign.

You have three options to enter your digital signature. One is entering your name, another is drawing the signature and there’s a last one where you can select an image to add. We advise you to use the first option.

You only need to locate the signature in the lower right part of the document so that it is easy to visualise. —If your document has more than one sheet, do not forget to place your signature in each one of them.

Click on save and if you like you can change the name indicating that you have already signed the document.

How to stamp a document?
Education experts have the most important work prior to sending the documentation to the education provider.
We recommend using the English version of Acrobat Reader.
Click here to see how to change the language.
If you are an education expert, what you should do is open the document and click on the comments icon in the right panel or on tools and then look for the comment icon.

A bar will be displayed at the top where you must click on the stamp icon. Here you will see a new menu where you have to click on Custom Stamps and then on Create.

Click on Search and browse on your computer on the folder where you saved the PDF file with the Sofiri stamp. Click here to get the SofiriStamp. Once you have selected it, click OK.

Choose the Standard Business category and name it. Then click OK .

Again, click on the stamp icon and when the menu is displayed, click on Standard Business (This is the category in which you saved the stamp). Once you see the list of stamps, go to the bottom of the list that is where the Sofiri stamp will be located.

Now you just have to place Sofiri’s stamp and the digitally sign it and date it.
Note: Do not forget to specify the document type, the date and profession.

Click on save and if you like add to the name that the document has already been approved.

Note: If it is more than one page, remember that you must place the stamp on each of them.
If you have a question, you can directly visit the Acrobat page where there’s an explanation on how to print a document.
https://helpx.adobe.com/acrobat/using/adding-stamp-pdf.html
What’s next?
Once the documents are signed and stamped, the education expert will send them to the education provider.
Remember that you can send the documents to your education expert through the platform your Sofiri account or in person if they are located in the same city.
Good luck!
Do you have any questions? Contact our National Experts Manager for more information.